Three Pre-Check Steps
- Scan the wall: use a stud finder or a phone metal-detect app to avoid wires and pipes.
- Mark the holes: draw with a pencil or masking tape and use a level if you have more than one hole.
- Plan the cleanup: tape a bag or hold a vacuum under the spot and cover the floor with newspaper.
Beginner Tool Checklist
Grab the items below and your first drilling job becomes easy:
| Category | Must-Have | Notes |
|---|---|---|
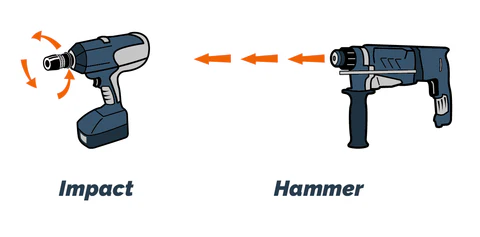
| Main tool | Impact drill / hammer drill | Match the wall type; variable speed and an aux handle make control easier. |
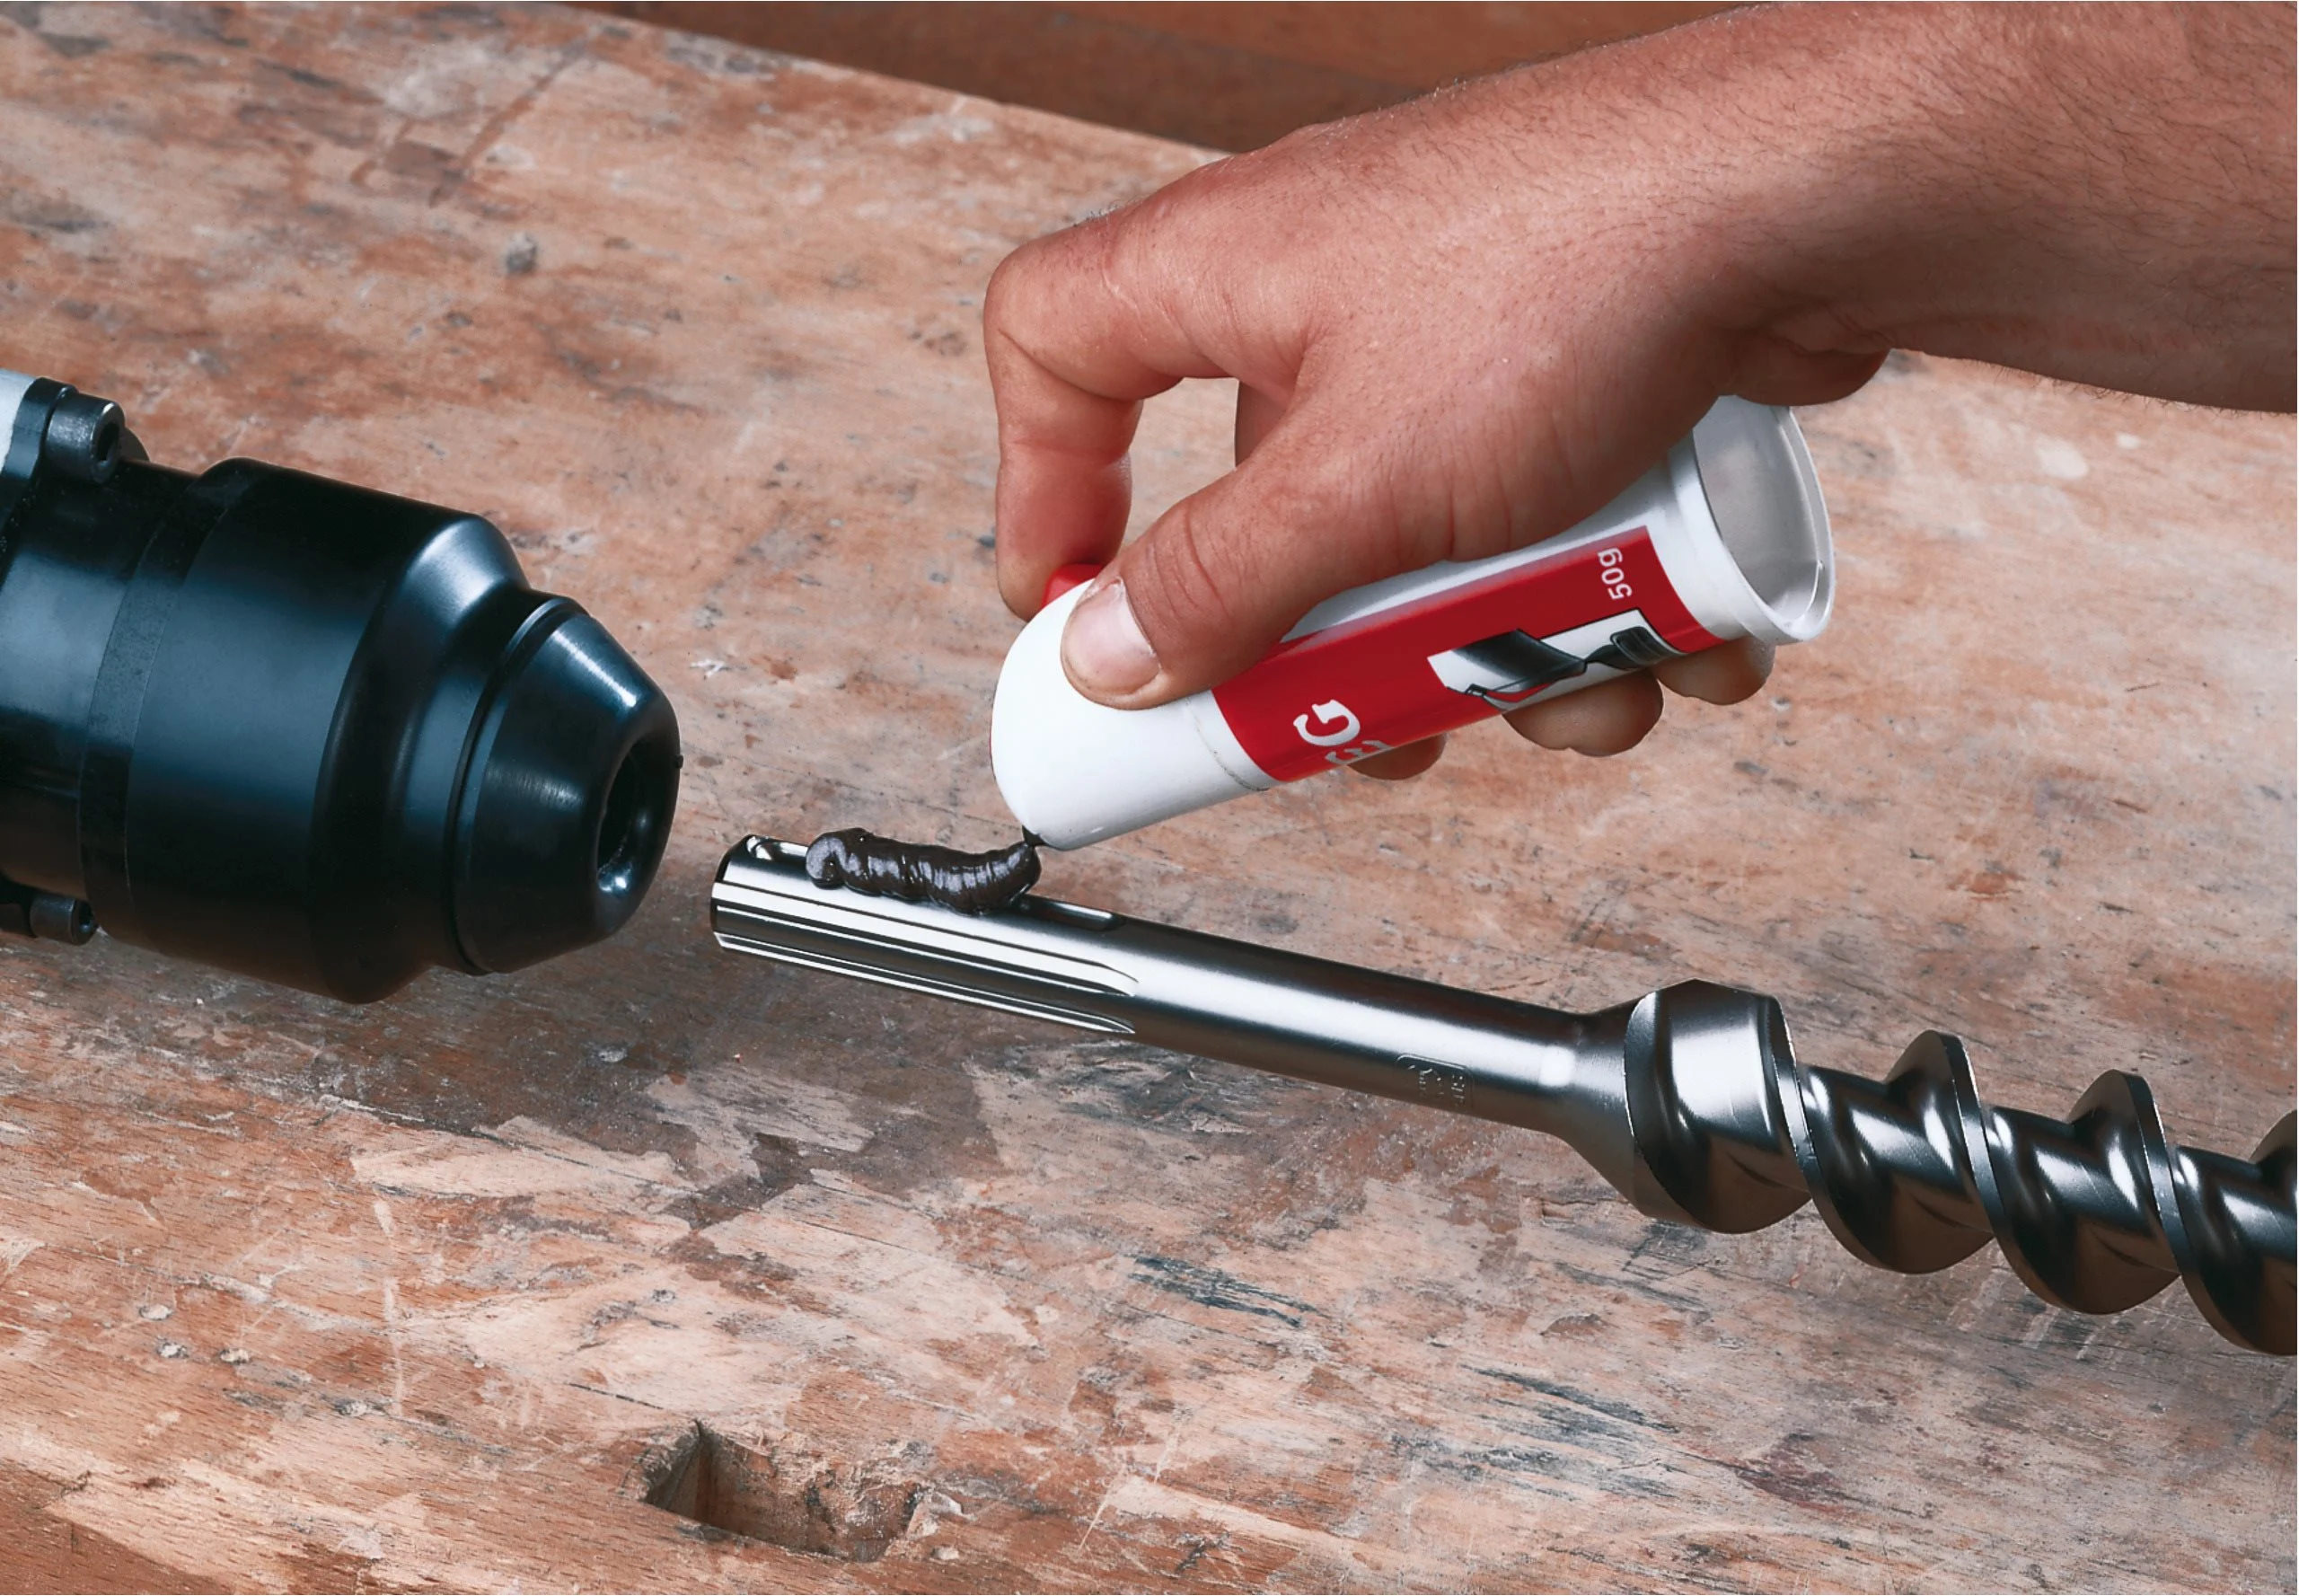
| Bits | Masonry bit set | Keep 6, 8, and 10mm. Use SDS shanks for hammer drills. |
| Helpers | Level, tape measure, masking tape | Helps keep spacing and marks visible. |
| Safety | Goggles, mask, ear protection, gloves | Stop dust, noise, and chips from hurting you. |
| Cleanup | Vacuum or brush, filler | Remove dust and patch the wall afterwards. |
Safety Tips for First-Timers
- Hold the tool with both hands and keep fingers away from the spinning chuck.
- Keep the drill straight; if it slows down, add just a little pressure instead of forcing it.
- Pull the bit out slightly every 1–2cm to clear dust and cool it down.
- Take breaks so the motor and bit can cool—overheating kills tools fast.
- Unplug or remove the battery before changing bits or packing up.
Budget & Kit Suggestions
If you only DIY sometimes, these combos cover most tasks:
- Starter impact drill kit ($60–90): includes bits, aux handle, and depth stop.
- Starter hammer drill kit ($110–180): adds SDS masonry bits, chisels, and a dust cap.
- Safety pack (~$25): goggles, earmuffs, sturdy gloves, and a dust mask.
On a tight budget? Share the cost with neighbors or rent the drill and buy only the personal safety gear.