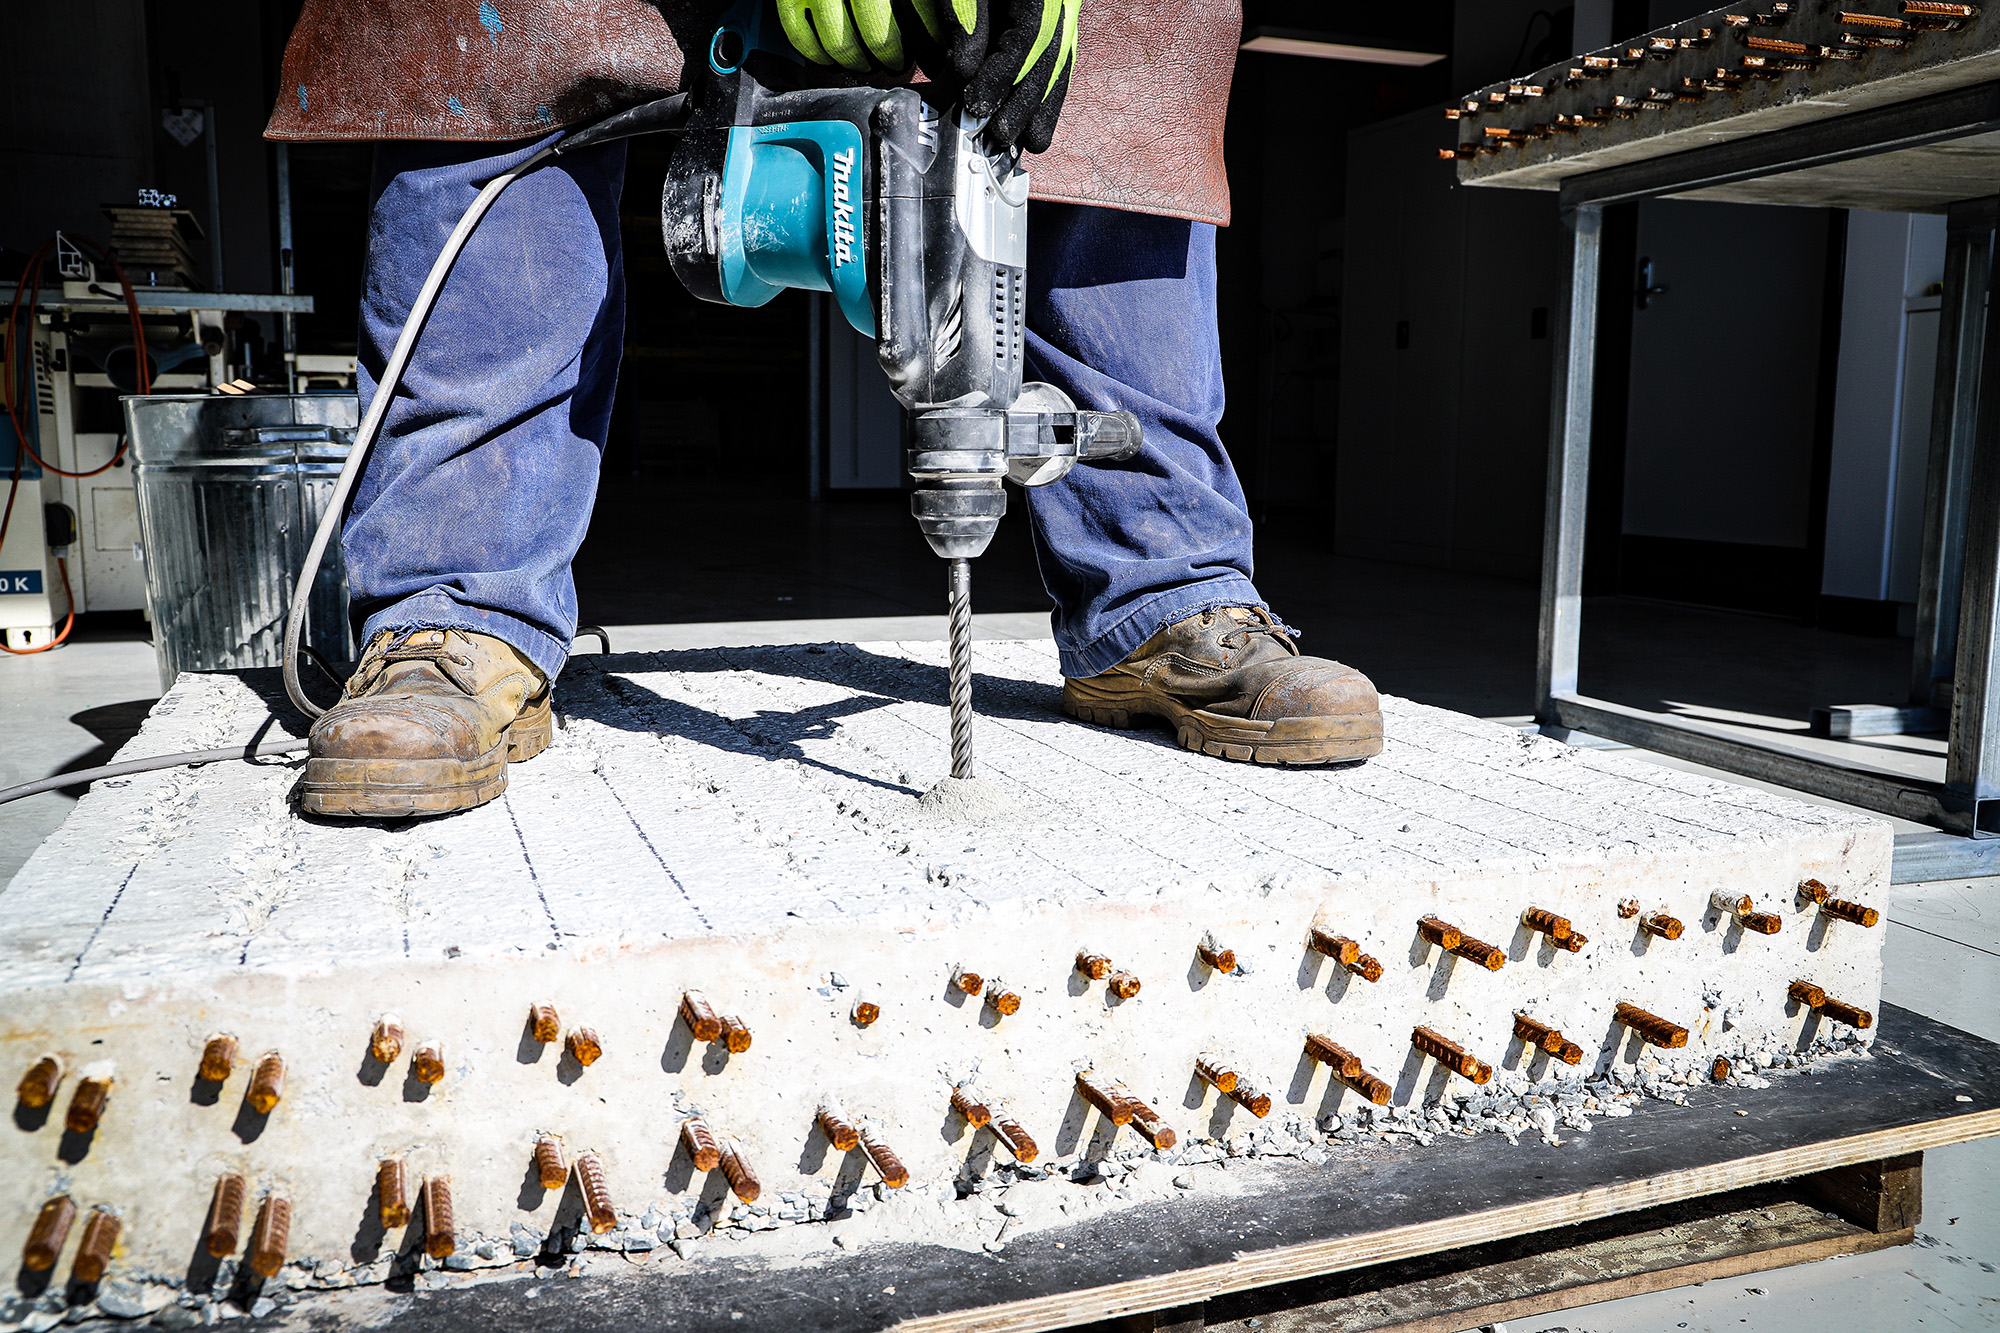
Stop Guessing: Treat Reinforced Concrete as a Scenario
Reinforced concrete is not “harder concrete”; it is two materials stacked: abrasive aggregate plus springy rebar. The failure signature is predictable: chipped carbide corners, bent shanks, and oversized holes that ruin anchor pull-out values. Treat it as a defined scenario and standardize head geometry, machine settings, and sequence.
- Goal: Keep the hole round and within tolerance while crossing rebar without killing the bit.
- Method: 4-cutter/cross-head geometry + steady feed + staged dust evacuation.
- Outputs: PGM-compliant holes for anchors, lower heat, fewer bit changes on site.
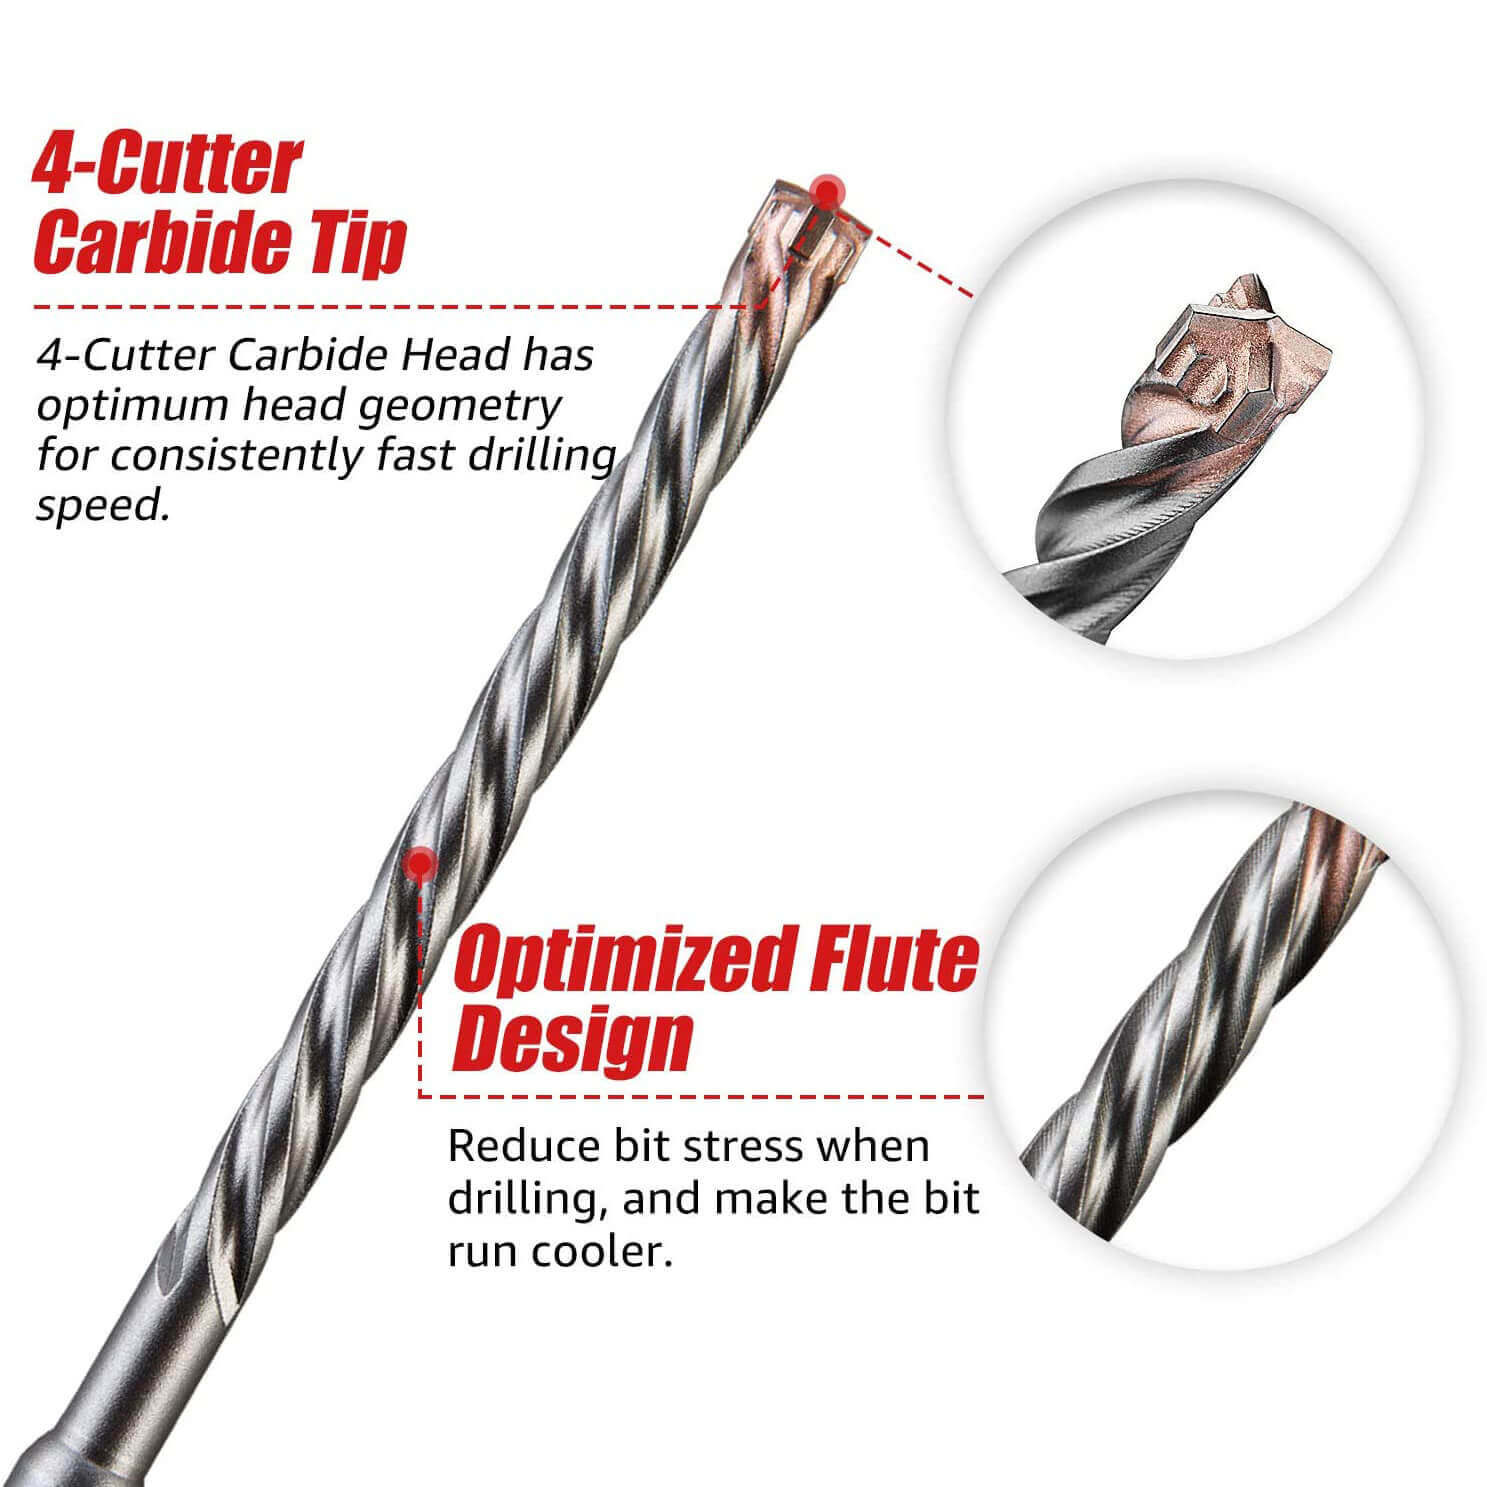
Bit Design That Survives Rebar Impacts
- Head choice: Use 4-cutter or cross-head tips; they keep a circular path and resist snagging on rebar ribs.
- Carbide & braze: Full-head carbide with deep braze fillet tolerates shock better than small inserts. Choose fine-grain carbide for less micro-chipping.
- Shank system: SDS-Plus for 6–16 mm anchor holes and light-medium duty; SDS-Max for 18–32 mm structural penetrations where impact energy is higher.
- Flute geometry: Deep, polished flutes clear hot dust before it vitrifies. Use longer flute SDS-Max for deep embedment to keep torque consistent.
- Tolerances: For anchoring, insist on PGM stamp; it guarantees diameter tolerance after rebar contact when used correctly.
Tool Setup & Parameters
- Detect rebar: Use a scanner or layout drawings; mark expected bars so the operator knows when to ease feed.
- Rotation/impact: Keep hammer mode on. Set medium RPM (e.g., 500–900 rpm SDS-Plus, 250–450 rpm SDS-Max) with firm but not aggressive feed.
- Depth control: Use stop collars or depth rods to avoid over-penetration that widens the hole when the bit pops through.
- Cooling and dust: Vacuum or dust extractor reduces heat. Wetting lightly is optional; do not flood the hole.
A Drilling Sequence That Protects the Bit
- Score the surface: Start perpendicular, let the centering tip establish a seat.
- Commit with rhythm: Engage hammer; maintain steady feed to avoid bouncing that chips carbide.
- When you hit rebar: Reduce feed by ~30%, keep hammering, let the 4-cutter cut. If the tool stalls, retract 5–10 mm, clear dust, re-enter at the same angle.
- Clean the hole: Brush + blow + vacuum, especially for chemical anchors. Repeat after every 50 mm in deep holes.
- Verify diameter: Use a gauge pin or anchor sleeve test; reject any hole that ovals after rebar contact.
If It Still Misbehaves
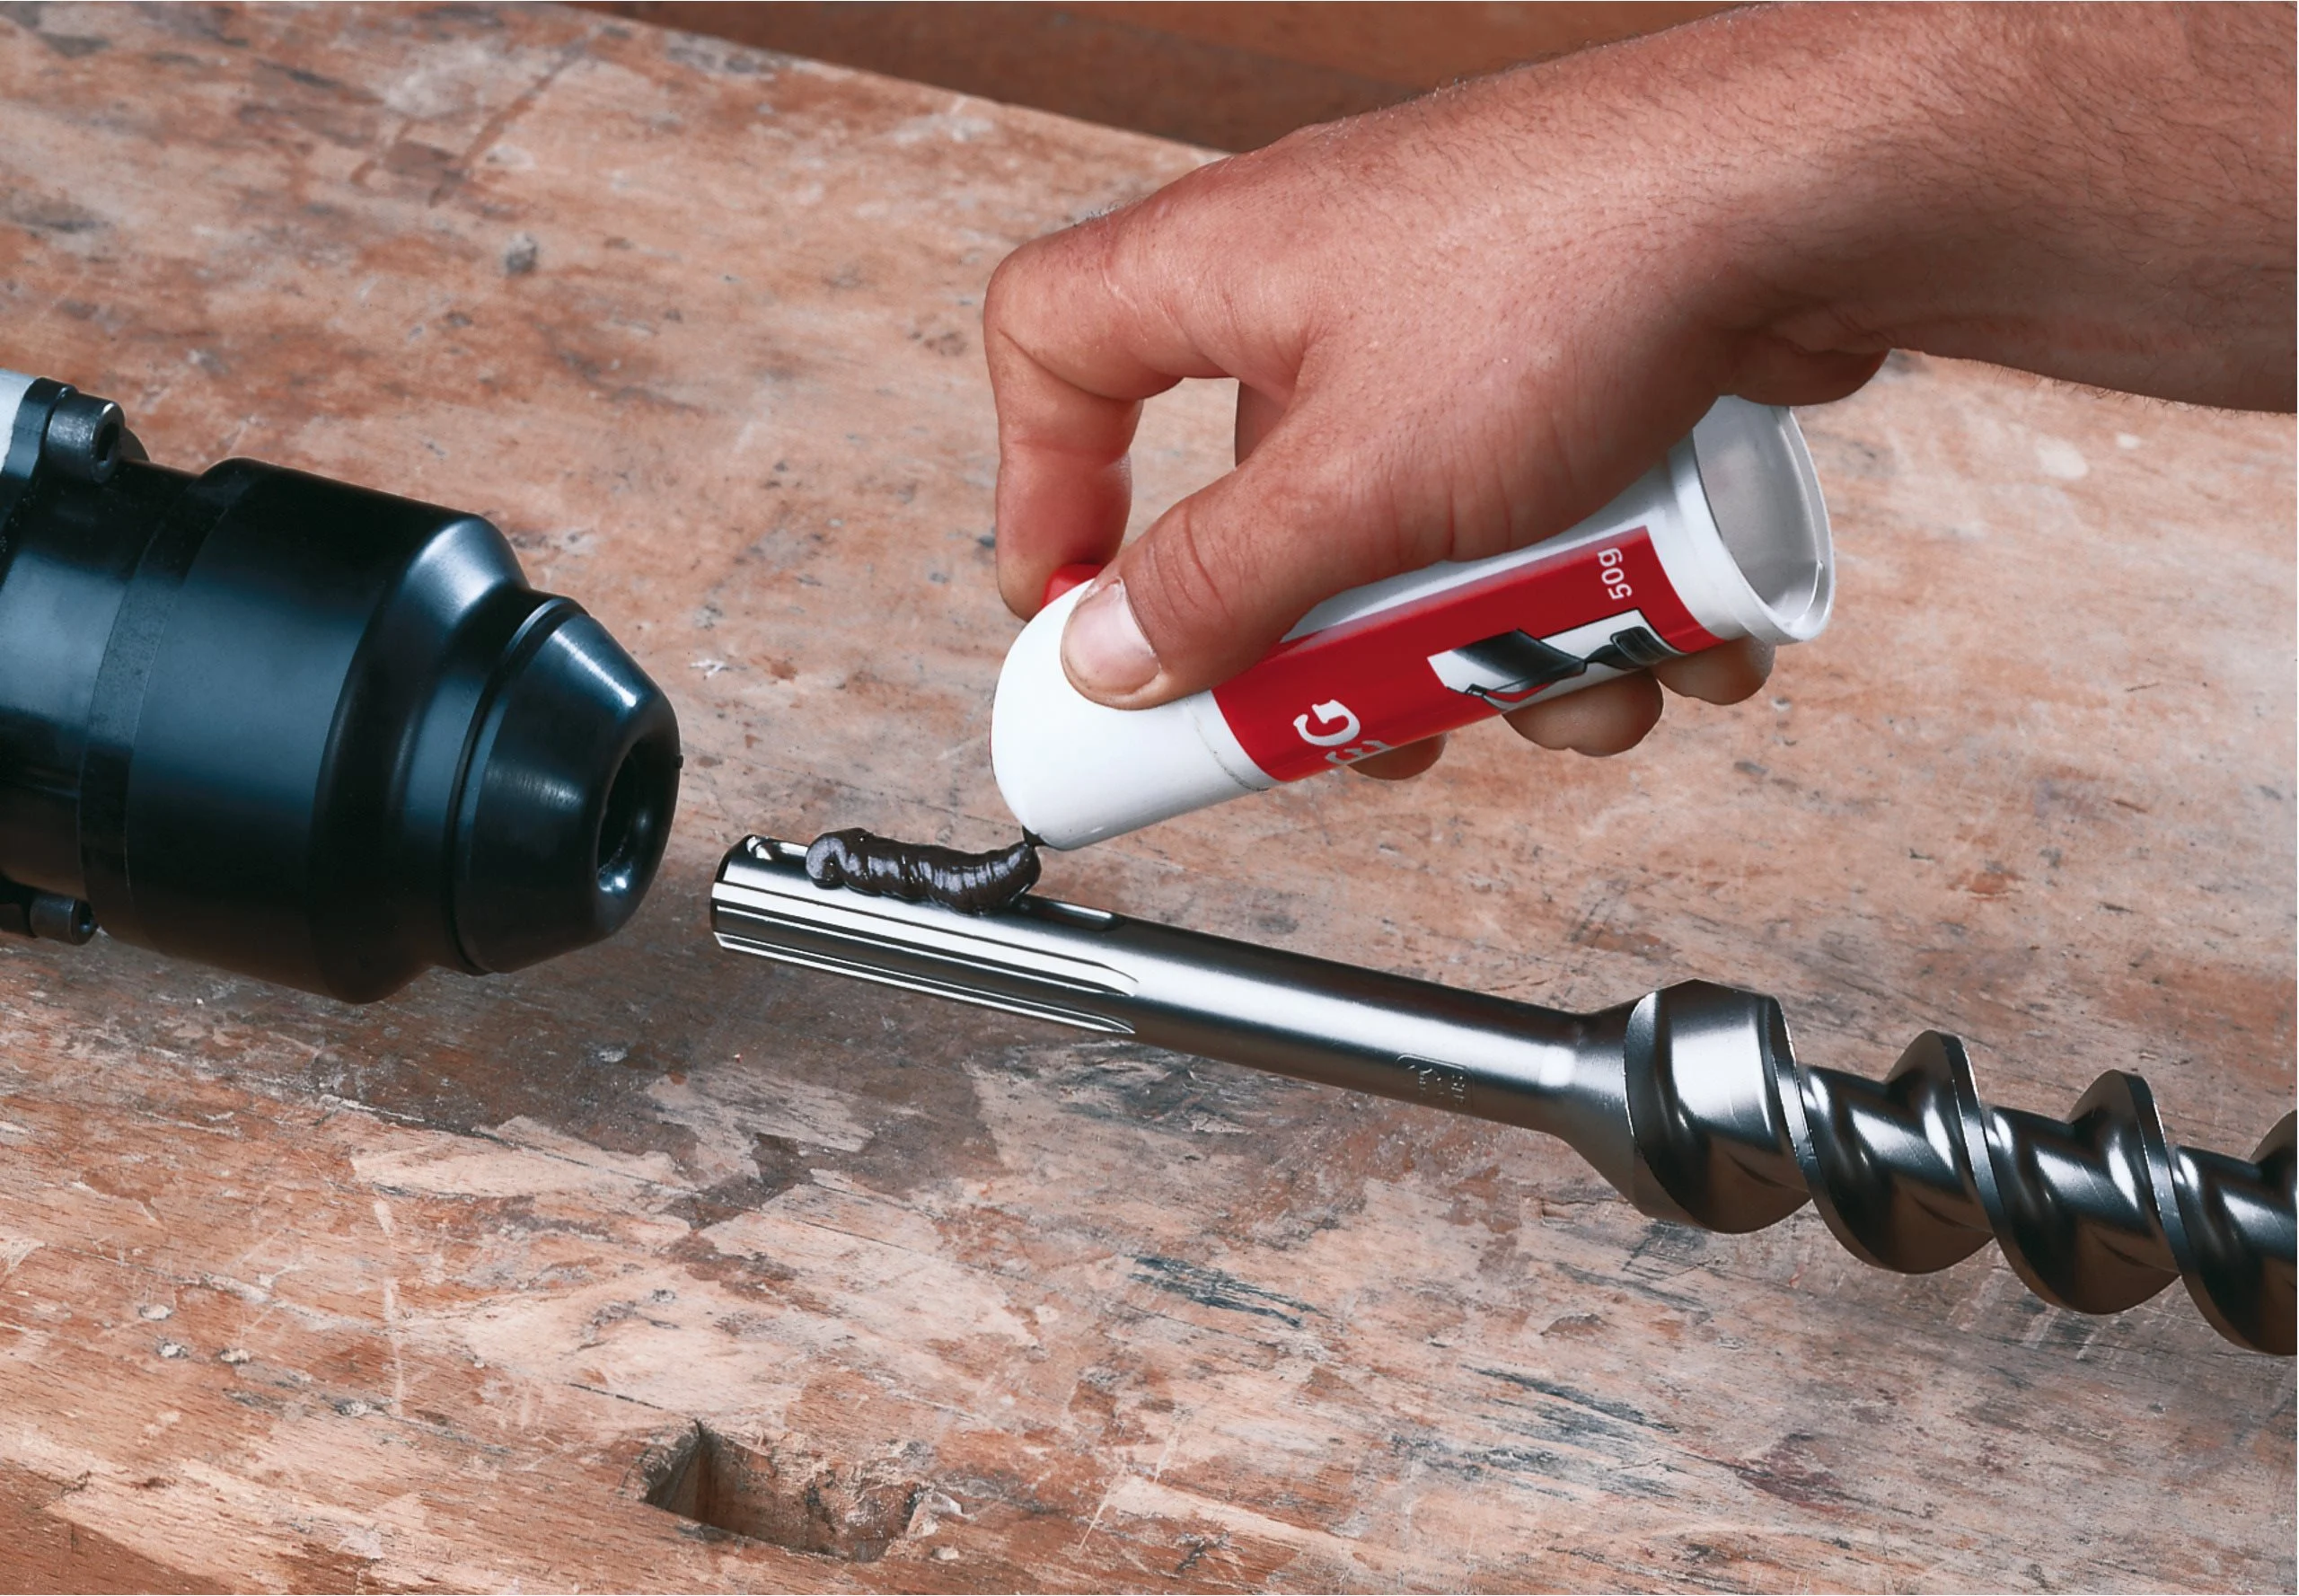
- Bit stalls on rebar: Flutes packed—vacuum and brush; feed too high—reduce; hammer energy low—service chuck and grease.
- Oval holes: Caused by 2-cutter bounce; switch to 4-cutter cross-head and keep the tool aligned.
- Blueing/overheat: Dust not evacuated—shorten pecks and clear every 30–50 mm; avoid continuous pressure at low RPM.
- Chipped corners: Cheap carbide or shallow braze—upgrade to full-head design (see related comparison article).
Bill of Materials (Zhonghuan Pick List)
- SDS-Plus 4-cutter PGM bits, 6–16 mm, for anchors in reinforced slabs.
- SDS-Max 4-cutter deep-flute, 18–32 mm, for structural openings and deep embedment.
- Dust extraction kit + nylon/steel hole brush + blow bulb for anchor prep.
- Stop collars and gauge pins to verify depth and diameter after rebar contact.
- If rebar must be cut through entirely, pair with a rebar cutter or core bit; do not force a masonry bit to mill steel.