Gather Tools & Supplies
- Variable-speed drill or hammer drill (use rotary-only mode)
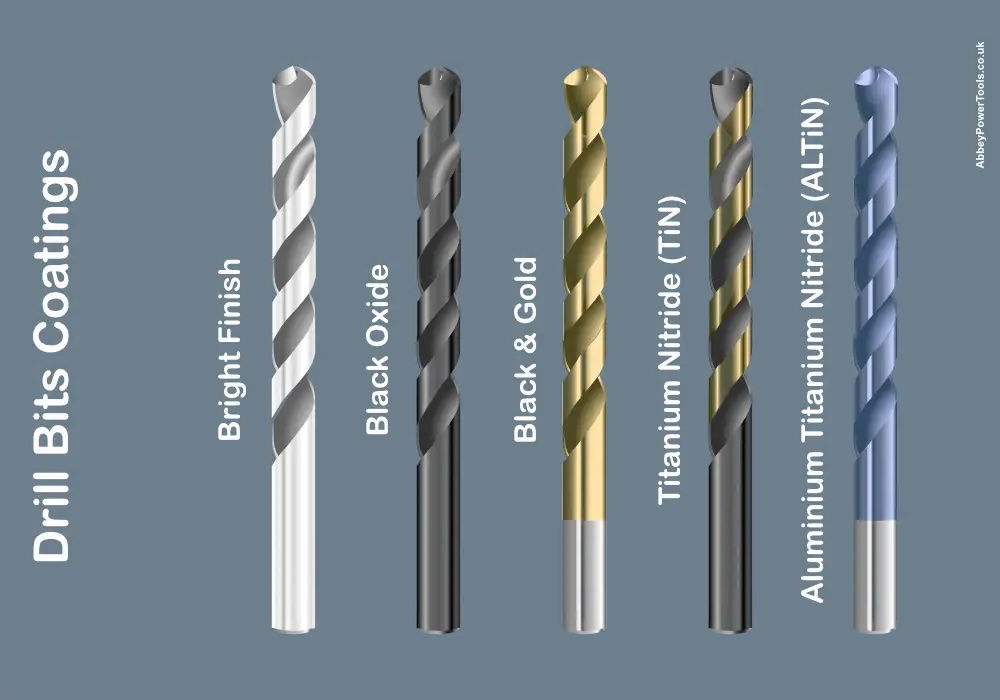
- Tile/glass bit or small-diameter diamond core bit
- Masking tape or clear tape, plus a marker
- Spray bottle or sponge soaked in water for cooling
- Safety glasses, gloves, soft cloth
Three-Step Drilling Routine
- Tape and mark: stick a cross of tape and mark the center. The tape adds grip and prevents skating.
- Start slow: run at 400–600 RPM with light pressure. Let the bit “grind” the glaze until it bites.
- Keep it cool: once you’re 3–4 mm in, you can add gentle hammer action if needed. Pause and drip water so the bit stays cool.
Common Issues & Fixes
- Bit slips: add another layer of tape or use a guide block, reset your footing, and restart slowly.
- Chipping: ease up on pressure, switch to a sharper bit, and only enable hammer mode after the pilot hole is formed.
- Overheating: stop every 10 seconds, wipe the tip with a damp cloth, or rotate between two bits.
Finishing & Cleanup
Don’t yank the bit out immediately after breaking through. Slow down, gently move the bit in and out to smooth the wall, then power off. Wipe away dust and water, blow debris out of the hole, and install anchors or hardware.
Keep the mantra in mind: go slow, stay cool, stay patient. Even first-timers can drill tiles cleanly with these steps.


