Sharpening a drill bit by hand is a rite of passage for any machinist. It turns a piece of scrap metal back into a precision tool.
1. Understanding Geometry: The Relief Angle
The most common mistake is No Relief.
The cutting edge *must* be the highest point. The metal behind the cutting edge (the heel) must slope downwards away from the cut. If the heel is higher than the edge, the bit will just rub and generate heat. This is called "Negative Relief".
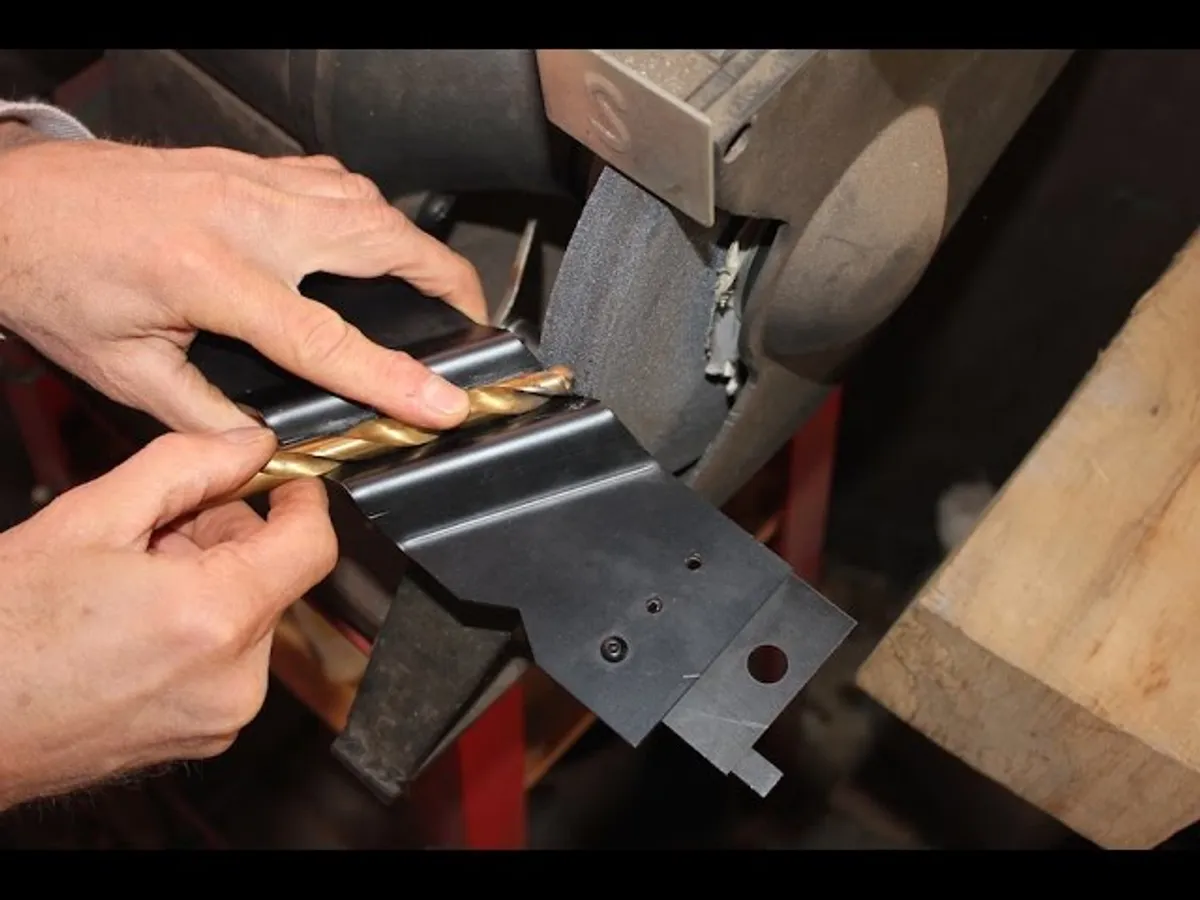
2. The Technique: Sweep and Twist
Stand at your bench grinder (wear eye protection!).
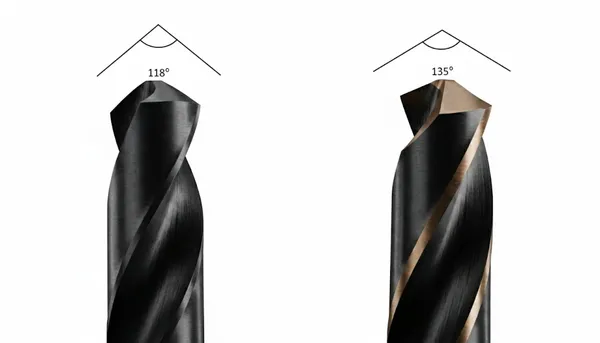
- Hold the Angle: Position the bit at roughly 60 degrees to the wheel face (half of 118 is 59).
- The Touch: Touch the cutting lip to the wheel.
- The Movement: Simultaneously lift the shank slightly (to create the relief angle) while rotating the bit clockwise to follow the curve of the cone.
- Repeat: Do the same for the other side. Aim for symmetry.
3. Don't Burn the Temper!
If you see the tip turn Blue, you failed. That heat has destroyed the hardness (temper) of the steel.
Keep a cup of water next to the grinder. Dip the bit every 2 seconds. Keep it cold.
4. The Test: Continuous Ribbons
Drill into a piece of scrap steel. If you get two equal, continuous spiral chips (ribbons) coming out of the hole, you did a perfect job. If you get dust, you have no relief angle.