Identifying Rebar
Hitting rebar (reinforcing steel bar) is one of the most common challenges when drilling into reinforced concrete. Proper identification saves time and prevents bit damage.
Signs You've Hit Rebar
- Sudden resistance: The bit stops advancing despite consistent pressure
- Sound change: Grinding metallic sound replaces the normal concrete drilling sound
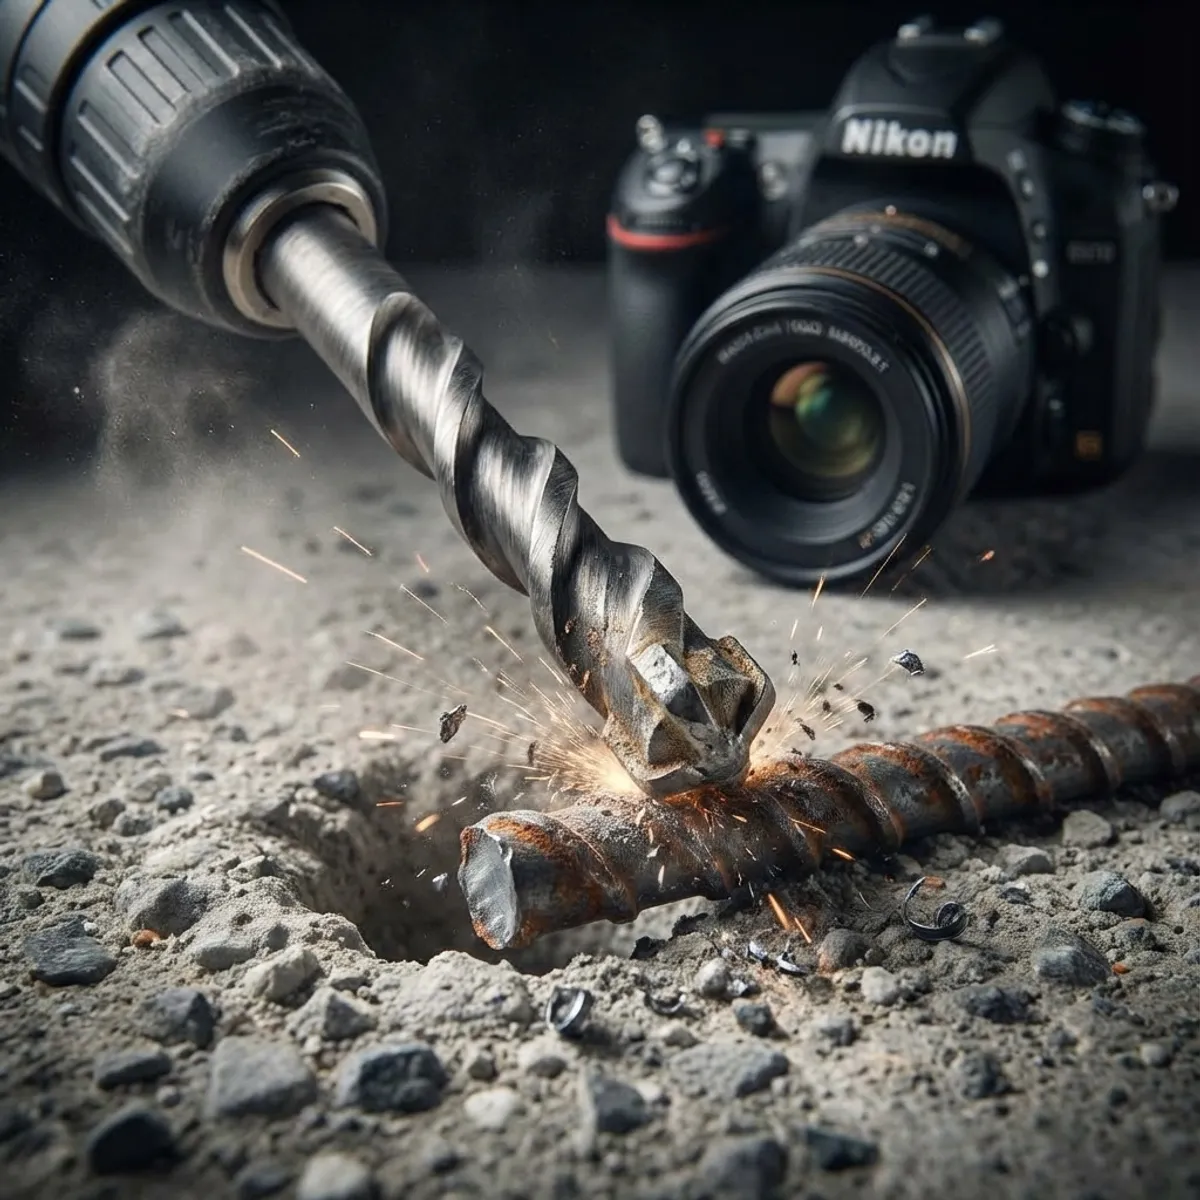
- Sparks: Visible sparks from the hole (especially with masonry bits)
- Deflection: Bit wanders or deflects to one side
- Heat: Bit becomes hot very quickly
- Vibration: Increased vibration in the drill
Pre-Drilling Detection
- Rebar detector: Electronic devices can locate rebar up to 120mm deep
- Cover meter: Measures depth and diameter of reinforcement
- Construction drawings: Review structural plans if available
- Typical spacing: Rebar is usually 150-300mm apart in slabs, closer in beams/columns
- Cover depth: Typically 25-75mm from surface depending on exposure class
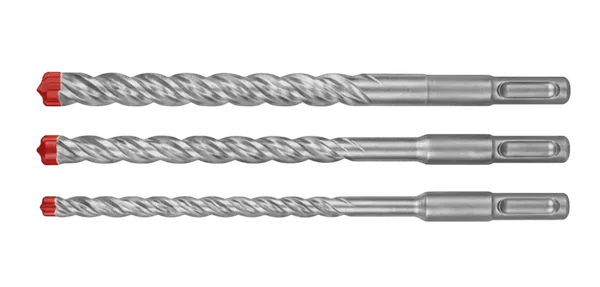
Bit Selection for Rebar
Option 1: Reinforced Concrete Bits (Recommended)
Special bits designed to cut both concrete and rebar without switching.
- Carbide tip design: Cross-head or 4-cutter geometry with harder carbide grades
- Reinforced body: Thicker core to resist deflection
- Advantages: One bit does both materials, faster overall
- Brands: Look for "reinforced concrete" or "rebar-capable" labeling
Option 2: Two-Bit Method
Use separate bits for concrete and rebar.
- Step 1: Drill with masonry bit until you hit rebar
- Step 2: Switch to HSS or cobalt metal bit to cut through rebar
- Step 3: Switch back to masonry bit to continue in concrete
- Advantages: Uses standard bits you may already have
- Disadvantages: Slower, requires multiple tool changes
Bit Comparison for Rebar
| Bit Type | Rebar Capability | Best For |
|---|---|---|
| Standard Masonry | Cannot cut rebar | Plain concrete only |
| Cross-Head SDS | Light rebar (≤12mm) | Occasional rebar contact |
| 4-Cutter Reinforced | Medium rebar (≤20mm) | Regular reinforced work |
| HSS Metal Bit | Cuts rebar only | Two-bit method |
| Cobalt Metal Bit | Cuts rebar only | Harder rebar grades |
Drilling Techniques
Technique 1: Drilling Through (With Reinforced Bit)
- Reduce speed: Switch to slower RPM when you feel rebar contact
- Reduce pressure: Let the carbide cut—don't force it
- Peck drill: Retract frequently to clear metal chips (different from concrete dust)
- Cool the bit: If possible, allow cooling breaks every 10-15 seconds on rebar
- Listen: When sound changes back to concrete, resume normal drilling
Technique 2: Two-Bit Method
- Drill with masonry bit until resistance indicates rebar
- Mark the depth on your masonry bit
- Remove masonry bit, insert metal-cutting bit
- Drill without hammer action (rotation only) through rebar
- Apply cutting oil if possible
- Once through rebar, switch back to masonry bit with hammer action
Technique 3: Core Drilling (Large Diameters)
For holes ≥50mm, diamond core drilling is often better:
- Diamond segments cut both concrete and rebar
- Wet drilling keeps temperature down
- Cleaner holes with less vibration
- Professional equipment required
When to Relocate Instead
Always Relocate If:
- Structural elements: Main beams, columns, or critical load-bearing elements
- Multiple bars: You've hit a bundle or mesh intersection
- Large diameter: Rebar ≥25mm indicates primary reinforcement
- Post-tensioned: Never drill through post-tensioned cables (can be fatal)
- No approval: Structural engineer hasn't approved cutting
May Proceed If:
- Engineer approval: Structural engineer has reviewed and approved
- Single bar: One small-diameter bar that's clearly secondary reinforcement
- Distribution steel: Temperature/shrinkage reinforcement, not structural
- Proper equipment: You have reinforced-concrete rated bits
How to Relocate
- Move 50-100mm in any direction to clear the rebar
- Use rebar detector to find clear zone
- Document the moved location for installation records
Safety Considerations
Structural Safety
- Never cut main reinforcement without engineering approval
- Post-tensioned concrete: Cutting stressed cables releases massive energy—potentially lethal
- Document everything: Take photos of rebar locations encountered
- When in doubt: Consult a structural engineer
Personal Safety
- Eye protection: Essential—metal chips are sharp and hot
- Hearing protection: Metal-on-metal is louder than concrete drilling
- Gloves: Swarf (metal shavings) can cause cuts
- Hot bits: Allow cooling before touching or changing
Equipment Protection
- Don't force: Excessive pressure damages bits and drill
- Wrong bit = destroyed bit: Masonry bits are ruined by rebar
- Overheating: Take breaks to prevent heat damage to carbide tips